

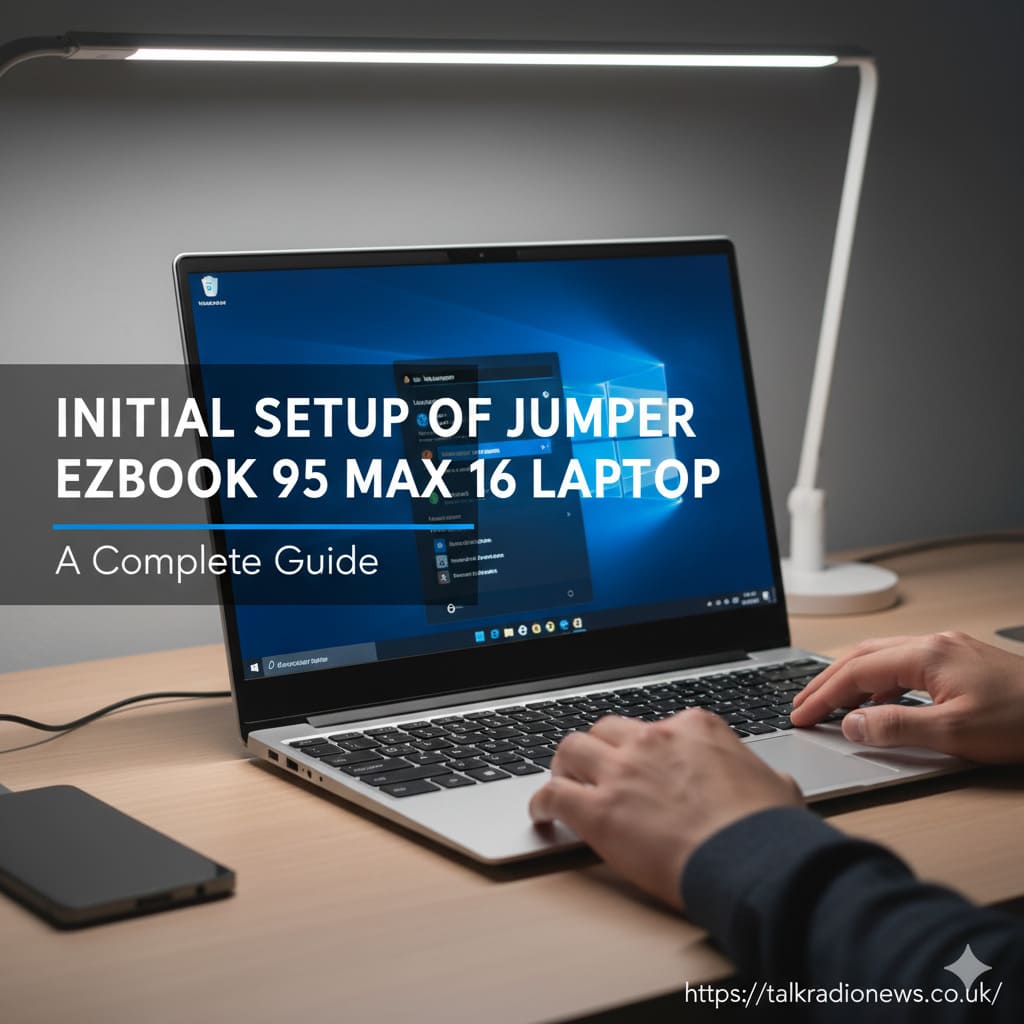
Are you ready to start using your new Jumper EZbook 95 Max 16 laptop? Setting up a brand new laptop can feel overwhelming, but don’t worry. This simple step-by-step guide will help you through the initial setup of the Jumper EZbook 95 Max 16 laptop. By the end, your device will be updated, customized, and ready for anything you throw at it.
- Key Takeaways
- Unboxing Your Jumper EZbook
- Charging Before the First Use
- Powering On and First Start
- Walking Through Windows 11 Setup
- Adding a Microsoft Account
- Setting Up Privacy and Services
- Critical Windows Updates
- Personalizing Your Jumper EZbook
- Removing Bloatware and Installing Your Apps
- Web Browser Comparison Table
- Checking Out Some Added Features
- Quick Checklist for Setup
- Final Thoughts: Enjoy Your Jumper EZbook 95 Max 16
- FAQ – Quick Answers to Common Questions
Key Takeaways
- Unbox and check your laptop before first use
- Charge fully before you power on
- Set up Windows 11 and connect to Wi-Fi
- Update your laptop for better performance and security
- Remove unwanted programs and add your favorite apps
- Personalize your new Jumper EZbook for comfort and ease
Unboxing Your Jumper EZbook
Let’s start at the beginning: unboxing your laptop. Open the box carefully and pull out each item. This helps make sure you have everything you need. Here’s what should be included:
- Jumper EZbook 95 Max 16 laptop
- Power adapter and charging cable
- User manual and warranty card
Check your laptop for any visible damage before going any further. The laptop should feel sturdy but light. Notice the big 16-inch screen, and give the keyboard and trackpad a quick try. Making sure everything looks good now will save you trouble later.
Charging Before the First Use
Before turning on your new laptop, plug it in and let it charge completely. Use the supplied power adapter and charging cable. A small light will usually tell you it’s charging. Let it reach full battery for the best start and longer battery life in the future.
Powering On and First Start
Once your Jumper EZbook 95 Max 16 is fully charged, press the power button. The laptop may take a couple of minutes to start as it prepares Windows 11. You might hear fans running and see a “Welcome” screen. This is normal! It just means the laptop is getting everything ready for you.
Walking Through Windows 11 Setup
Next, your screen will show the Windows 11 setup wizard. The steps are clear and simple. Here’s what you’ll do:
Language, Region, and Keyboard
First, you’ll choose your language, region, and keyboard type. For example, if you’re in the U.S., pick “United States” for both location and keyboard. You can add another language or keyboard anytime later.
Connecting to Wi-Fi
You must connect to Wi-Fi next. Choose your network’s name, type in the password, and wait for the checkmark. This step is important because your laptop will need the internet to check for the latest updates.
Adding a Microsoft Account
Windows 11 asks you to sign in with a Microsoft account. This is your email address for things like Outlook, Xbox, or Office 365. If you don’t have one, you can create a free account on this screen. Signing in helps keep your settings and files backed up through OneDrive. You also get access to the Microsoft Store for downloading apps.
Benefits of Using a Microsoft Account
- Back up files and settings for safety
- Download apps and games easily
- Use the same account on all your Windows devices
If you want a local user account instead, look for the “sign in options” link. Keep in mind, some features will be limited this way.
Setting Up Privacy and Services
Your laptop will now ask you about privacy settings like sharing location, sending error reports, and personalizing ads. Read each choice and pick what makes you comfortable. Privacy rules in the United States help protect your choices, and you can learn more on official sites like the FTC’s Consumer Information page.
You may also be invited to join Game Pass or subscribe to Microsoft 365. You can skip these for now and look at them later.
Critical Windows Updates
Soon you’ll reach the Windows 11 desktop. Before you get too excited, one of the most important steps is running Windows Update. New laptops often ship with older software. Here’s how:
- Click the Start menu
- Open Settings
- Select Windows Update
- Click Check for updates
Let your EZbook download and install all updates. You might need to restart a couple of times. Updated software keeps your system secure and your apps running well.
Personalizing Your Jumper EZbook
After updates, it’s time to make your laptop your own! Here’s how you can personalize the look and feel:
Adjusting Your Display
- Scale: If things look small, set the scale to 125% so text is easy to read.
- Resolution: Use the recommended 1920 x 1080 for best quality.
- Night Light: Turn it on in the evenings to reduce blue light and protect your eyes.
Customize Your Desktop
Right-click anywhere on your desktop and choose Personalize. Here, you can:
- Change your background picture
- Switch between dark and light mode
- Pick an accent color you like
You can easily try out different themes—find one that fits your style.
Removing Bloatware and Installing Your Apps
Your new laptop may come with some software pre-installed that you don’t need. Removing “bloatware” frees up space and makes your laptop run smoother.
Uninstalling Unwanted Apps
- Go to Settings > Apps > Installed apps
- Scroll to find anything unfamiliar or unnecessary (like game trials)
- Click the three dots, then Uninstall
Just double-check not to remove anything that sounds like a driver or part of Windows.
Must-Have Software to Add
Here are a few programs most people like to install right away:
- Web Browser: Edge is good, but you might prefer Chrome or Firefox.
- Office Suite: Microsoft Office, LibreOffice, or Google Docs cover your school or work needs.
- VLC Media Player: Plays almost any video or music file
- Security: Windows Security is strong, but you can add another program if you want extra safety
Web Browser Comparison Table
Need help choosing a browser for your EZbook? Here’s a quick look at three top choices:
Feature | Google Chrome | Mozilla Firefox | Microsoft Edge |
|---|---|---|---|
Engine | Chromium (Blink) | Gecko | Chromium (Blink) |
Speed | Very fast | Fast | Fastest on Windows |
Privacy Protection | Decent, Google-based | Very strong | Strong, Microsoft-based |
Extensions | Huge library | Large library | Huge, plus Chrome ones |
- Edge: Best for battery life and integration with Windows 11.
- Firefox: Excellent privacy and light on memory.
- Chrome: Top for speed and extensions.
Choose your favorite and get browsing!
Checking Out Some Added Features
The Jumper EZbook 95 Max 16 isn’t just about basics. Once you finish setup, explore these cool features:
Handy Keyboard Shortcuts
- Windows + L: Lock your laptop
- Windows + Tab: View all open windows
- Ctrl + Shift + Esc: Open Task Manager
Upgrading Storage
Many EZbook laptops can be upgraded with a larger SSD for storing more files. Check the user manual for guidance, or visit a certified computer shop if you need help.
Quick Checklist for Setup
Here’s a quick list so you don’t forget any steps:
- Unbox and examine everything in the package
- Fully charge your laptop
- Power on and follow Windows 11 setup
- Connect to your Wi-Fi
- Sign in (or create) a Microsoft account
- Set privacy preferences
- Update Windows and restart
- Personalize display and desktop
- Uninstall unwanted programs
- Install your go-to apps
Final Thoughts: Enjoy Your Jumper EZbook 95 Max 16
Completing the initial setup of Jumper EZbook 95 Max 16 laptop makes your computer safer, faster, and uniquely yours. Once you’ve updated everything, added your favorite tools, and found your comfort settings, you’re set! Now you can explore the internet, watch videos, play games, or do schoolwork with confidence. For more tips, check out tech news and guides on sites like talkradionews.co.uk.
FAQ – Quick Answers to Common Questions
Q1: How long does it take to set up the Jumper EZbook 95 Max 16?
Usually, it takes 60–90 minutes from unboxing through updates.
Q2: Do I need a Microsoft account?
It’s recommended, but you can set up a local account instead. Some features will be limited.
Q3: Do I need extra antivirus protection?
Windows Security in Windows 11 is solid. More information is available on Microsoft’s Security page.
Q4: Can my storage be upgraded?
Yes, you can usually add an M.2 SSD for more space.
Still have questions? Search the official Windows support pages (support.microsoft.com) for more answers.


Leave a comment